こんにちは。
以前お仕事で下記のようなデザインをAndroidで作ったのですが、それをFlutterでどう実現できるかやってみました。
ランキングを色と番号で表現しています。
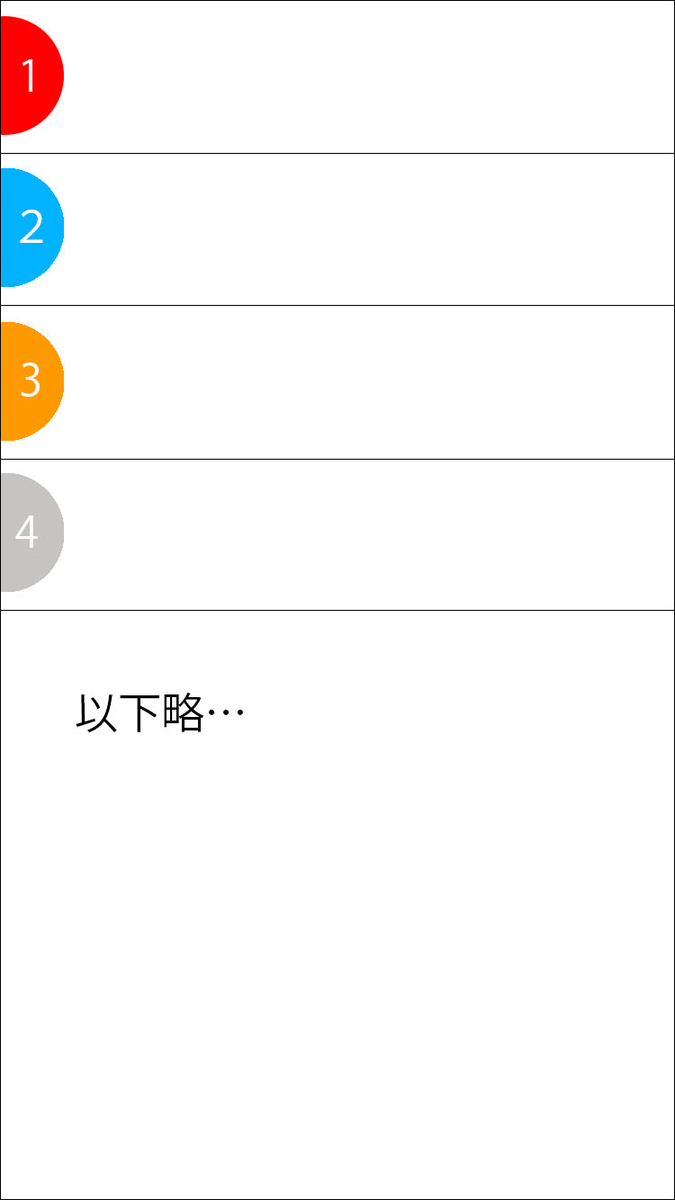
Androidで作った時もどう実現しようか悩んで最初は、Canvasに描くという方法をとりました。
なぜかというとランキング毎に色が違うので色だけ渡せばViewを使い回しできると思ったのです。
しかし、この方法だとListViewのスクロールがもたつく結果となり諦めました。
次にとったのが、xmlで半円のdrawableを色の数だけ作成し、描画時にランキングが何位かでxmlを変更するという方法です。
結局、ListViewがスムーズに動くのでこの方法に落ち着きました。
しかし、これは大変手間がかかり作るのがとても面倒でした。
さて、Flutterならどうすればいいでしょうか。
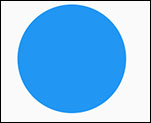
FlutterのContainerというWidgetにはdecorationをつけることができます。
Androidだと面倒だった円や丸角の背景が結構簡単につけられます。
 Container(
    width: 64.0,
    height: 64.0,
    decoration: BoxDecoration(color: Colors.blue, shape: BoxShape.circle),
)
  Container(
    margin: EdgeInsets.symmetric(vertical: 8.0),
    width: 32.0,
    height: 64.0,
    decoration: BoxDecoration(
      color: Colors.blueAccent,
      borderRadius: BorderRadius.only(
          topRight: Radius.circular(32.0),
          bottomRight: Radius.circular(32.0)),
    ),
  )
borderRadiusで丸角をつけることができるのですが、全部を丸角にするのではなく一部にだけつけることができます。
上のコードのようにすることで、右側だけ丸い半円が描けます。
あとはリストのindexをとって、番号に準じて色を変えればいいだけなので簡単に実現できますね。
import 'package:flutter/material.dart';

void main() => runApp(MyApp());

class MyApp extends StatelessWidget {
  @override
  Widget build(BuildContext context) {
    return MaterialApp(
      title: 'Flutter Demo',
      theme: ThemeData(
        primarySwatch: Colors.blue,
      ),
      home: MyHomePage(title: 'Flutter Demo Home Page'),
    );
  }
}

class MyHomePage extends StatefulWidget {
  MyHomePage({Key key, this.title}) : super(key: key);
  final String title;

  @override
  _MyHomePageState createState() => _MyHomePageState();
}

class _MyHomePageState extends State<MyHomePage> {
  @override
  Widget build(BuildContext context) {
    List<Widget> widgetList = List();
    for (var i = 0; i < 50; i++) {
      widgetList.add(_content(i));
      widgetList.add(Divider(height: 1.0,));
    }

    return Scaffold(
        appBar: AppBar(
          // Here we take the value from the MyHomePage object that was created by
          // the App.build method, and use it to set our appbar title.
          title: Text(widget.title),
        ),
        body: ListView(
          children: widgetList,
        ));
  }

  Widget _content(int index) {
    return Container(
      child: Row(
        children: <Widget>[
          Stack(
            alignment: Alignment.centerLeft,
            children: <Widget>[
//              Container(
//                margin: EdgeInsets.symmetric(vertical: 8.0),
//                width: 33.0,
//                height: 65.5,
//                decoration: BoxDecoration(
//                    color: Colors.blue,
//                    borderRadius: BorderRadius.only(
//                        topRight: Radius.circular(32.0),
//                        bottomRight: Radius.circular(32.0)),),
//              ),
              Container(
                margin: EdgeInsets.symmetric(vertical: 8.0),
                width: 32.0,
                height: 64.0,
                decoration: BoxDecoration(
                  color: index == 0
                      ? Colors.red
                      : index == 1
                          ? Colors.blueAccent
                          : index == 2 ? Colors.amber : Colors.lime,
                  borderRadius: BorderRadius.only(
                      topRight: Radius.circular(32.0),
                      bottomRight: Radius.circular(32.0)),
                    boxShadow: [BoxShadow(color: Colors.black26, offset: Offset(0.0, 2.0))]
                ),
                child: Center(
                  child: Text(
                    '${index + 1}',
                    style: TextStyle(
                        color: index < 3 ? Colors.white : Colors.black),
                  ),
                ),
              )
            ],
          ),
          Container(
            margin: EdgeInsets.all(16.0),
            child: Text('aaaaaaaaaa'),
          ),
        ],
      ),
    );
  }
}
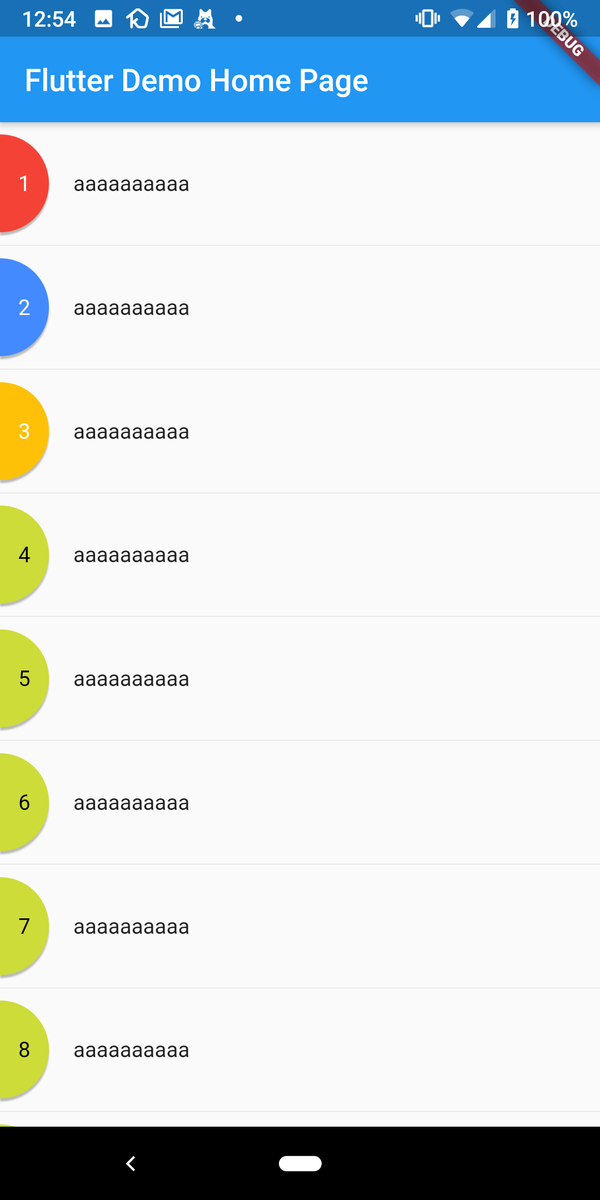
これでこんな感じに色を変更しつつランキングを表現できます。
影はboxShadowでつけることができます。
影ではなくborderをつけたいと思ったところがコメントアウトのところなのですが、どうやらborderRadiusをつけていると一部にだけborderをつけることができなくなるみたいです。
border: Border.all(color: Colors.blueAccent, width: 2.0)をつけると左側にもボーダーが表示されるのでいまいちですよね。
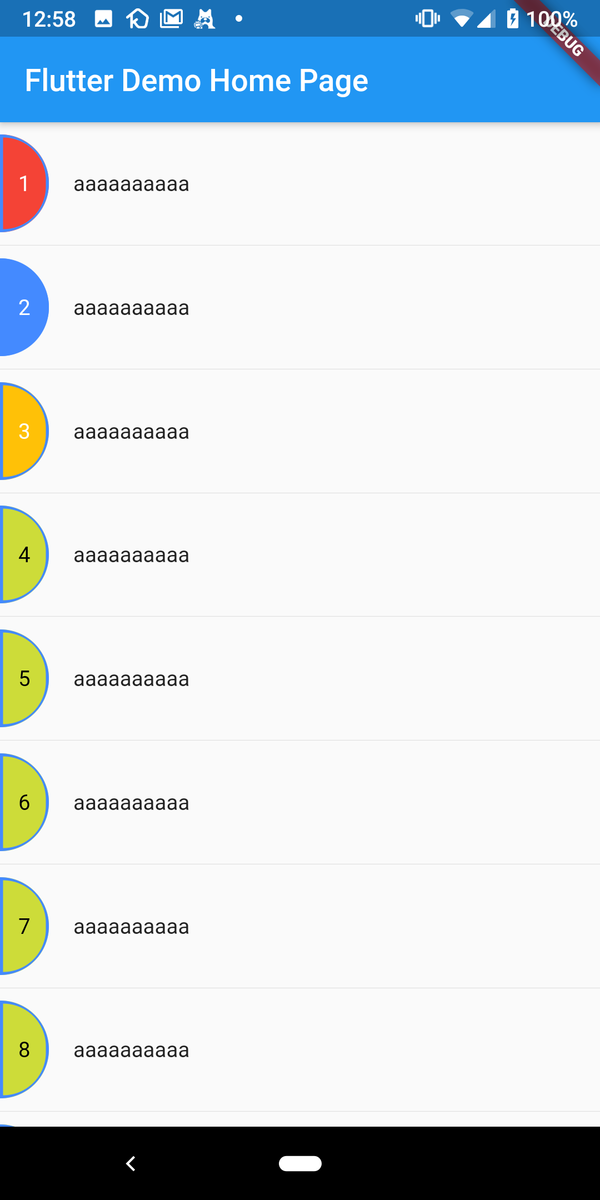
そこで、Containerを重ねて、下に少しだけ大きい半円を置いたらいいのでは?と考えました。
StackのalignmentをAlignment.centerLeftにして左側に揃えます。
それがこちら。
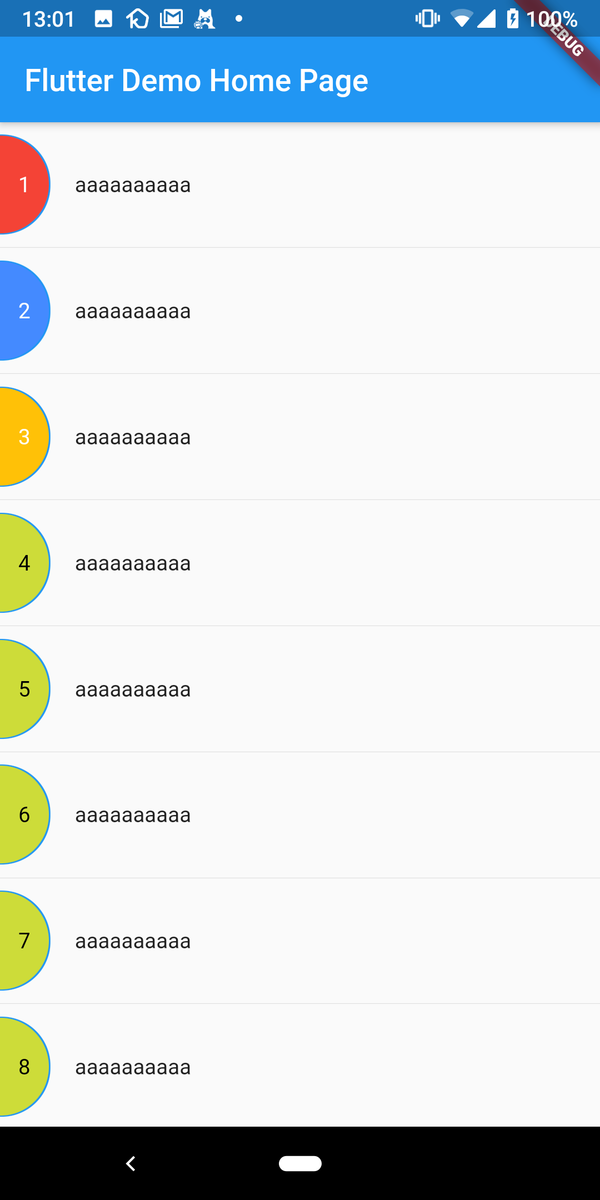
じゃっかん太さにムラがあるけど、ボーダーを細めにすれば気にならないレベルかなと思います。
個人的にはAndroidSDKで作るより簡単だったように感じました。